
If you have ever looked at a finished wall and thought, “That looks simple enough,” you are not alone. But drywall installation is one of those home improvement tasks where small mistakes create big visual problems.
Whether you are updating a single room or planning a full renovation in Dallas, Texas, understanding drywall the right way saves time, money, and stress. This step-by-step guide breaks down how to install drywall, finish it smoothly, and avoid the common traps that frustrate even a skilled DIY enthusiast.
At Build Strong Construction & Remodeling, we have handled everything from minor patch jobs to larger home renovation projects in Irving, TX. The process is predictable when done correctly.
Let’s walk through it.
Understanding Drywall and Choosing the Right Materials
Drywall, sometimes called sheetrock, is made from gypsum pressed between layers of paper. It attaches to wall studs and ceiling framing to create a smooth surface ready for paint.
Before you install drywall, consider:
- Types of drywall – standard, moisture-resistant for bathrooms, and fire-rated panels
- Thickness – typically 1/2 inch for walls and 5/8 inch for ceilings
- Soundproofing needs, especially in shared spaces
Always check local building code requirements in Dallas before starting. The drywall you install must match the room type and overall design plan.
If you are unsure, working with an experienced interior remodeling contractor in Irving, TX can help you avoid buying the wrong materials.
Tools You Will Need Before You Hang Drywall
Having the right tool makes the job cleaner and faster. At a minimum, prepare:
- Measuring tape for accurate measurement
- Straight edge or T-square
- Utility knife and knife blades
- Drywall screws or nails rated for framing
- Screw gun with a dimpler attachment
- Drywall rasp for smoothing rough edges
- Joint compound
- Drywall tape
- Sandpaper for sanding between coats
A builder or beginner often underestimates how important clean cuts are. That is why you use a drywall knife and a straight edge to snap clean lines.
Step-by-Step Guide to Installing Drywall
Let’s break down how to install panels properly. This is your step-by-step tutorial for clean, tight seams.
Step 1: Measure and Mark the Framing
Start by checking the framing construction. Make sure every wall stud is straight and spaced correctly, usually 16 inches apart.
Use your measuring tape to mark the location of studs behind existing surfaces if you are covering old drywall. Mark your measurements clearly so you know where to drive each screw later.
Step 2: Cut the Drywall to Size
Lay a drywall sheet flat. Use a straight edge and a utility knife to cut the drywall. Score the paper, snap the board along the line, then cut through the back paper.
If trimming around a window or door, carefully measure length and height. Cut a piece of drywall slightly snug, then use a drywall rasp to shave excess drywall and smooth rough edges.
Step 3: Hang Drywall on Walls and Ceiling
When you hang drywall on a ceiling, it is best to position sheets perpendicular to the joists. For walls, you can hang panels horizontally or vertically, depending on the height of the frame.
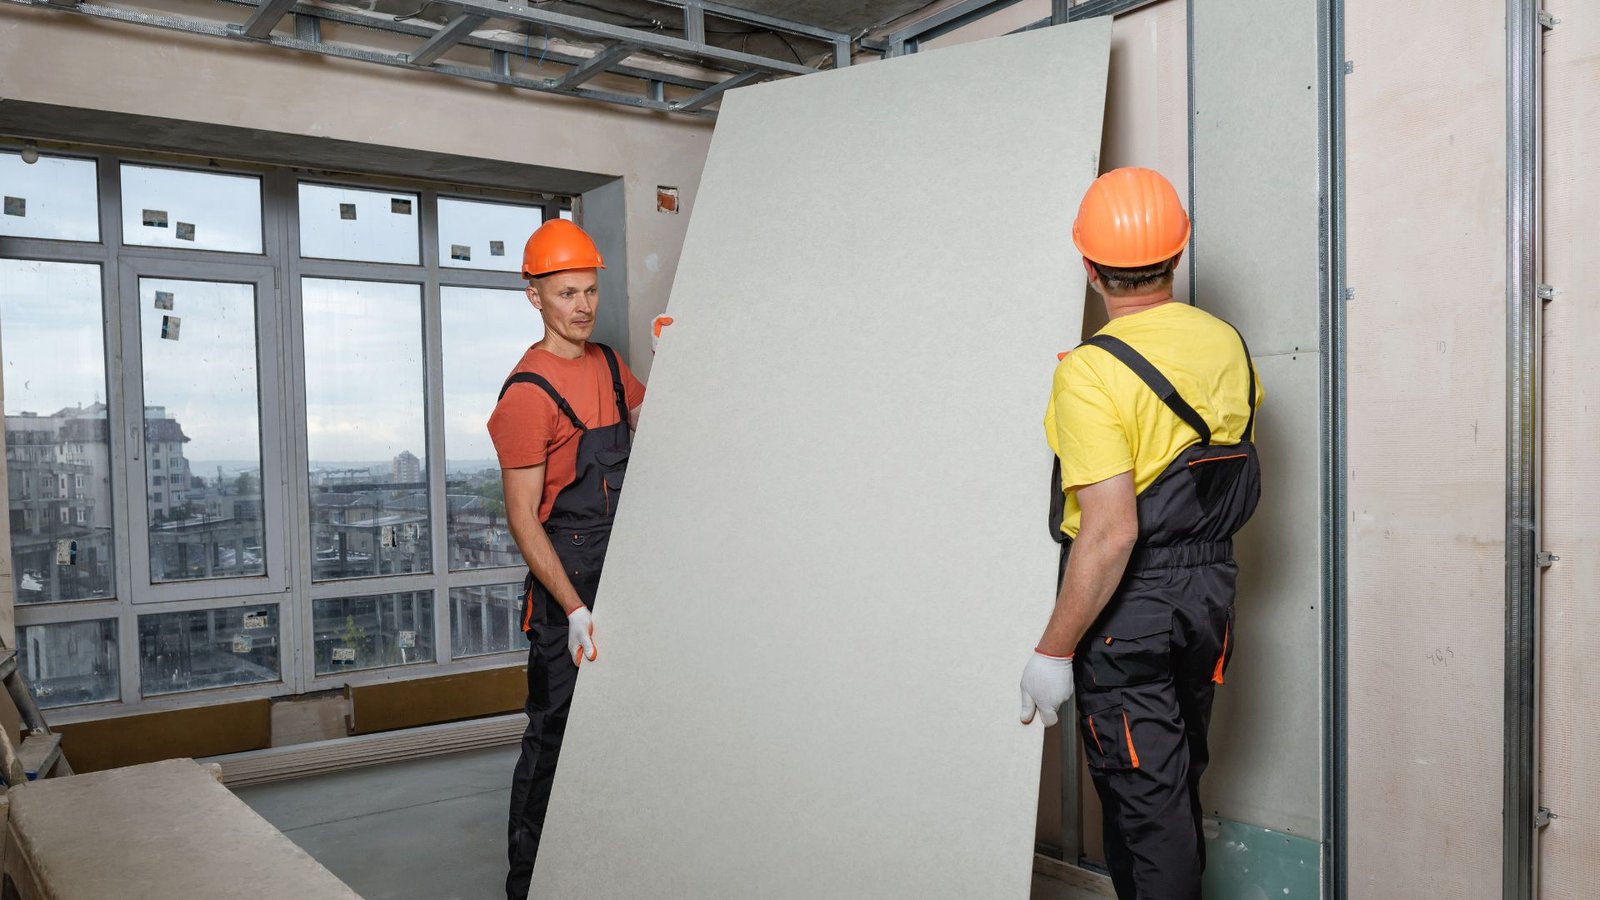
Lift and hold the drywall sheet in place. It helps to have a second person hold the drywall while you secure it. Place the drywall tightly against the ceiling above and snug to adjacent panels.
Make sure each seam falls over a stud.
Step 4: Fasten the Panels Securely
Use drywall screws, not standard screw types. Drive them straight into each wall stud, spacing them about 12 inches apart on walls and closer on ceilings.
Focus on driving screws just deep enough to create small dimples without tearing the paper. Overdriving weakens the hold. You should see slightly recessed screw heads, not broken surfaces.
Do not rely on adhesive alone. Proper fastening prevents cracking later.
Drywall Finishing: Mudding, Taping, and Sanding
Installing and finishing drywall are two different skill sets. Many DIY attempts look fine until the paint goes on, and every seam shows.
Applying Tape and First Coat
Spread joint compound along each joint using a wide knife. Embed drywall tape along the seam and press it flat. Then apply a coat of compound over the tape, smoothing in a straight line.
Inside and outside corners need special care. Use corner beads on outside corners to create sharp, durable edges and prevent cracking. Pay extra attention to inside corners so they stay straight.
Additional Coats and Sanding
After the first coat dries, lightly sand to remove ridges and drywall dust. Then apply another coat again, feathering the edges wider.
Most professional results require three coats of joint compound total, with each coat thinner and wider than the last. Each coat should be thinner and wider than the last to make it easier to finish.
Let everything dry completely before final sanding. The smoother your drywall finishing, the better your paint will look.
Special Situations: Patching and Renovation Work
If you are working on old drywall, first check for loose panels or damaged framing. Secure anything that moves before adding new drywall.
For small damage, cut out the damaged area and patch it with a new drywall piece. Reinforce with backing support between studs behind the opening.
In a larger remodel, such as custom kitchen remodeling solutions or professional bathroom remodeling services, drywall often interacts with insulation upgrades and new layouts. Every joint, baseboard line, and opening matters for square footage accuracy and finish quality.
Planning a bigger transformation? Our team regularly handles full-house remodel services in Irving, TX, where drywall installation is just one part of a complete rebuild.
Pro Tips and Tricks for Flawless Results
Here are a few tips and tricks we share with homeowners in Dallas:
- Always check that framing is flat before installing panels
- Stagger seams so they do not align in one straight vertical seam
- Keep seams tight, but do not force panels into place
- Vacuum dust thoroughly before priming
- Plan layout so factory edges meet at main seams
If you are working around a ceiling transition or complex inside and outside corners, it may be worth calling a contractor. Drywall looks simple, but precision is everything.
When to Call a Professional in Dallas
There is nothing wrong with a do-it-yourself mindset. Many homeowners take pride in home improvement projects.
But if you are remodeling multiple rooms, adjusting a floor plan, or improving soundproofing between spaces, professional installation saves long-term repair costs. As a trusted contractor in Dallas, Build Strong focuses on clean seams, solid fastening, and finishes that hold up for years.
Drywall might seem like just another surface. In reality, it defines how every wall and ceiling in your home looks and feels.
Conclusion
Drywall installation does not have to be overwhelming when you approach it step by step.
Measure carefully, cut cleanly, secure panels properly, and take your time with finishing. Small details like proper screw placement and smooth coats of joint compound make the difference between amateur and professional results.
If your project feels bigger than a weekend DIY, Build Strong Construction & Remodeling in Dallas is ready to help. Reach out today and let us turn your renovation vision into flawless, lasting walls built the right way.