
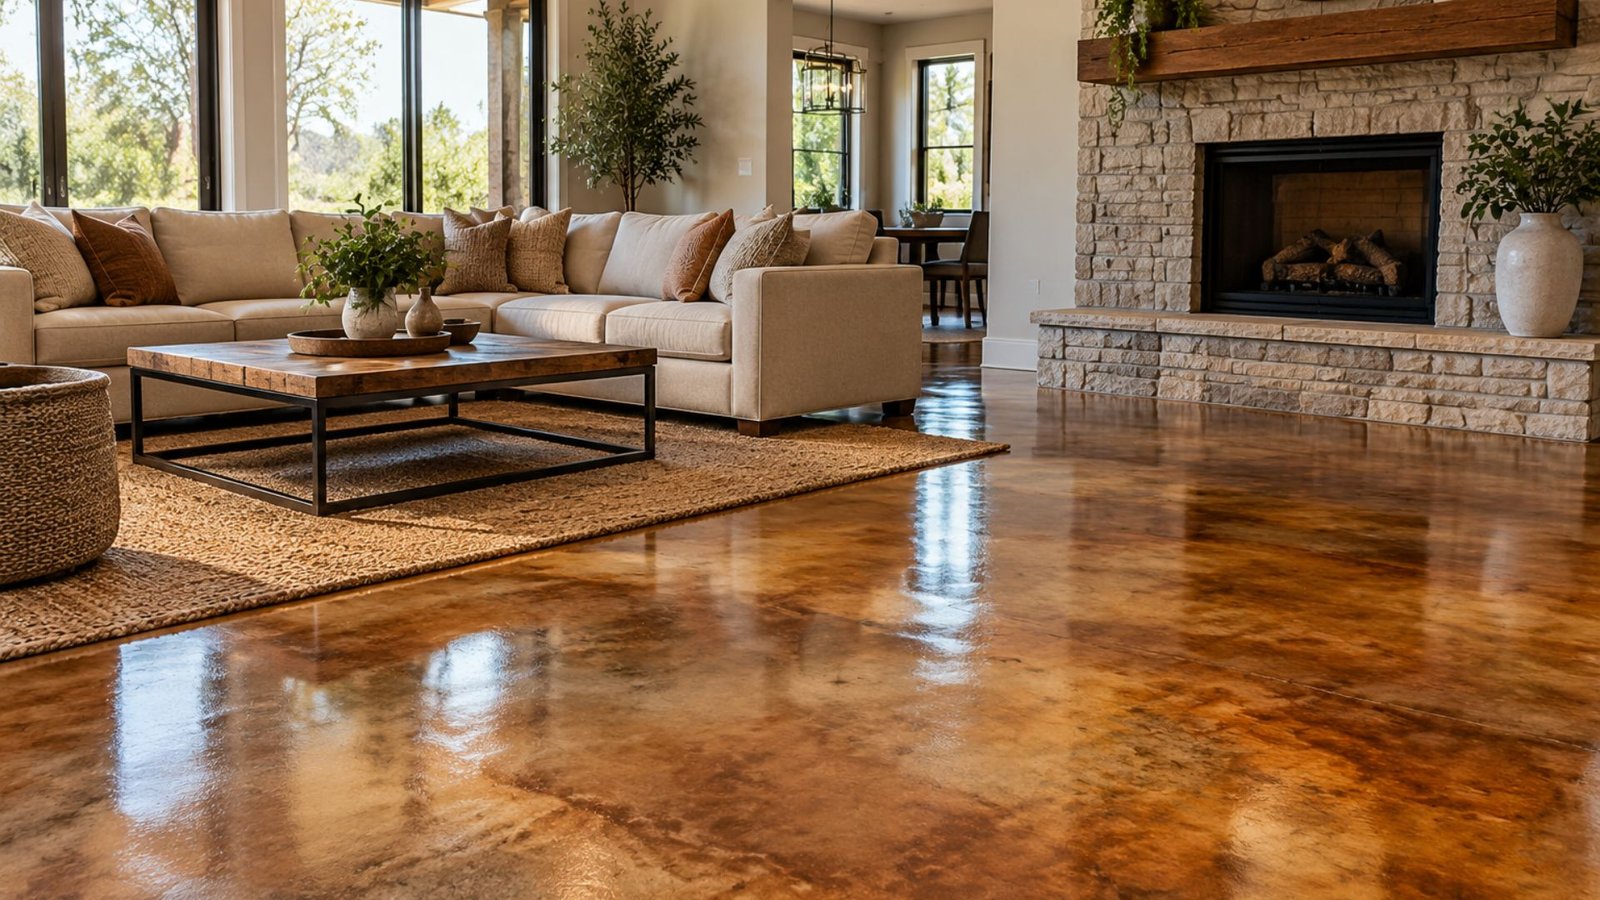
Stained Concrete Floors: Pros and Cons Before You Commit
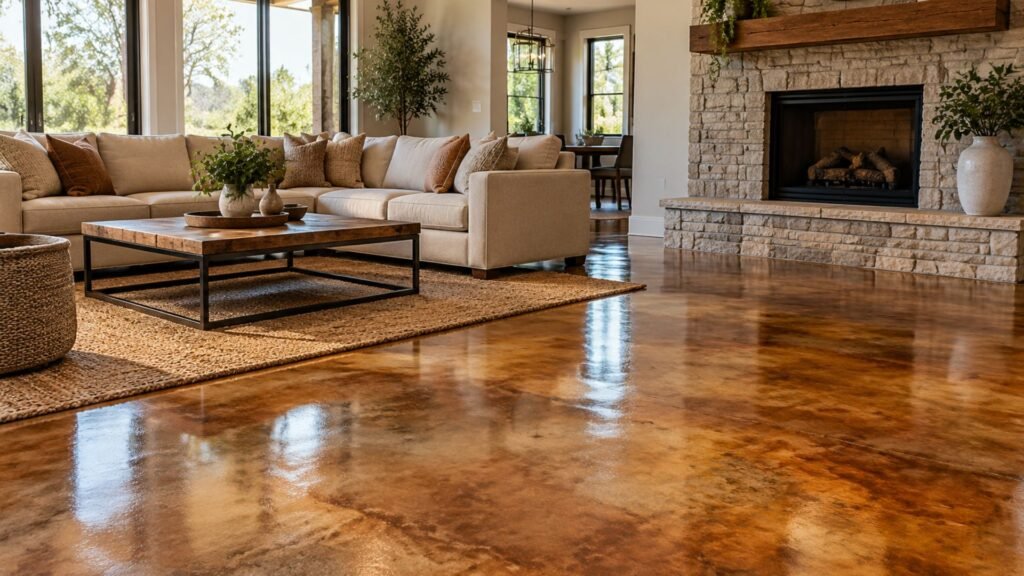
If you’ve been scrolling through home renovation photos lately, you’ve probably stopped at a few images of stunning stained concrete floors. The rich amber tones, the deep charcoal swirls, the glossy finish that looks almost like polished stone – it’s genuinely beautiful work. And it can absolutely transform a space.
But here’s what those photos don’t show: the hours of grinding, patching, cleaning, and testing required before a single drop of stain touches the surface. If you’re considering this flooring option, you deserve the full picture – not just the glamour shots.
This article breaks down what stained concrete floors actually involve, why the prep work is so demanding, and what you should realistically expect if you’re planning a project in Dallas.
What Are Stained Concrete Floors, Exactly?
Stained concrete is exactly what it sounds like – concrete that has been treated with a coloring agent to create a decorative finish. But the word “stain” covers two very different products, and choosing the wrong one for your situation can lead to results you didn’t expect.
Acid stains react chemically with the minerals in concrete to create natural, mottled patterns that look almost like marble or aged stone. The colors are earthy – tans, browns, greens, blues – and no two floors look exactly the same. That’s part of the appeal.
Water-based stains work more like dyes. They penetrate the surface and offer a broader color range, including more saturated tones. They’re easier to work with and more predictable, but they don’t produce the same organic variation that acid stains do.
Both types are permanent once applied. That’s not a warning to scare you off – it’s just something to understand clearly before you start.
Why Stained Concrete Is So Popular Right Now
A few things have pushed stained concrete into the mainstream over the past decade, and most of them make practical sense for Dallas homeowners.
First, Dallas gets hot. Stained concrete floors stay cooler underfoot than carpet and don’t trap allergens the way carpet does. For people with pets or dust sensitivities, that’s a real quality-of-life improvement.
Second, concrete is already there in most homes – it’s the subfloor beneath your tile, hardwood, or carpet. Staining it is often less disruptive and less expensive than installing brand-new flooring on top of it, assuming the slab is in good condition.
Third, the aesthetic genuinely works. Whether you’re going for a modern industrial look, a warm rustic feel, or something sleek and minimalist, stained concrete can be adapted to match. It’s one of the more versatile flooring choices available.
The Prep Work Nobody Talks About Enough
Here’s where most homeowners get caught off guard. The staining process itself is relatively quick. The preparation is not.
Surface Assessment: The Step That Determines Everything
Before any staining begins, the concrete has to be thoroughly evaluated. This means looking for cracks, pitting, previous coatings, sealers, adhesive residue, and moisture issues. Every one of these problems has to be addressed before the stain goes down, because the stain will only penetrate clean, open concrete.
If your slab has an old coating – say, from a painted basement or a tile adhesive removal – that has to come off completely. That’s a grinding job, and grinding concrete is loud, dusty, and time-consuming. Professional flooring contractors use industrial grinders with dust collection systems, but it’s still a significant process.
Cracks need to be filled and allowed to cure. Pitting needs to be addressed. If moisture is moving up through the slab, it has to be addressed before the stain is applied, or you may develop adhesion problems and peeling sealer later.
Cleaning: More Thorough Than You’d Think
Once the surface is mechanically prepared, it has to be chemically cleaned. This usually involves a degreaser, followed by a thorough rinse, followed by an acid wash (if using water-based stain), followed by another rinse. The goal is to open the pores of the concrete so the stain can penetrate evenly.
Any oil, grease, or residue that remains will show up as an uneven or blotchy patch in the final finish. In a garage, that might be a motor oil stain from a car that sat there for years. In a kitchen, it might be cooking grease that worked its way into a crack. These spots require extra attention and sometimes multiple treatments.
Testing Before Committing
A good flooring contractor will always test the stain on a small, inconspicuous area before covering the whole floor. This is especially important with acid stains, because the chemical reaction depends on the mineral content of your specific slab – and every slab is a little different.
The test patch tells you what the final color will actually look like on your concrete, not just on the label of the can. Skipping this step is how people end up with floors that look nothing like what they expected.
The Staining Process Itself
Once the prep is done, the actual staining is almost anticlimactic compared to everything that came before it. The stain is applied with a pump sprayer or brush, worked in carefully to create even coverage, and then allowed to react and dry.
With acid stains, a neutralizing solution is applied after the reaction is complete to stop the chemical process and remove any residue. This is an important step – skip it, and you can end up with a chalky or uneven surface.
Water-based stains dry faster and don’t require neutralization, which makes them a bit more forgiving in terms of timing.
Sealing: The Step That Protects Your Investment
After the stain is dry and the floor is clean, a sealer goes down. This is what gives stained concrete its durability and that characteristic sheen. Without a sealer, the stained surface would absorb spills, stain unevenly, and wear down quickly.
Sealers come in different finishes – matte, satin, and high-gloss – so you have control over the final look. Some sealers also have a topcoat of wax applied over them for extra protection and easier maintenance.
The sealer is also what makes the floor slippery if you’re not careful. A good contractor will add a slip-resistant additive when sealing areas that get wet, like kitchens, bathrooms, or entryways.
Stained Concrete Floors Pros and Cons: A Realistic Look
Let’s be direct about what you’re getting into, because the decision deserves honest information.
The Pros
The visual range of stained concrete is genuinely impressive. You can achieve looks that mimic stone, wood, or abstract art – all from the same basic material. And because each floor reacts slightly differently to the stain, your floor will be one of a kind.
Maintenance is simpler than most flooring types. No grout lines to scrub, no wood that swells with humidity, no fibers that trap dust. A sealed concrete floor can usually be cleaned with a damp mop and a mild cleaner.
Longevity is another real advantage. A properly prepared and sealed concrete floor can last for decades. In Dallas’s climate, where temperature swings and humidity can stress flooring materials, that durability matters.
For homeowners who are also thinking about the broader value of their property, a well-done stained concrete floor is an upgrade that tends to hold up over time. It fits naturally into a full house remodel where you’re making lasting improvements throughout the space.
The Cons
The prep work is genuinely demanding. If your slab has a lot of issues – old coatings, cracks, moisture problems – the preparation alone can take several days and add significantly to the project cost. There’s no shortcut that produces good results.
Concrete is hard. That’s obvious, but it’s worth saying. Standing on a concrete floor for hours at a time is tiring on your feet and joints. If that’s a concern, area rugs help considerably, but they change the aesthetic.
Repairs can be tricky. If the floor is damaged later – a deep gouge, a new crack – patching it and re-staining to match is difficult. Concrete is not a forgiving material when it comes to spot repairs.
Cold in winter is another consideration. Concrete does not retain heat well. In Dallas, the winters aren’t brutal, but there are cold stretches, and a concrete floor in an unheated room will feel it.
What Happens When You Cut Corners
It’s worth spending a moment on this, because DIY stained concrete tutorials online make the process look much simpler than it is. Some people watch a few videos, buy some acid stain from a home improvement store, and go for it.
The results are often disappointing. Not because staining concrete is impossible to DIY, but because the prep work requires equipment and experience that most homeowners don’t have. A floor grinder is not the same as a belt sander. An industrial wet vacuum is not the same as a shop vac. The difference shows up in the finished product.
Blotchy color, uneven penetration, sealer that peels within months – these are the most common outcomes of rushed or under-prepared staining projects. Fixing them is more expensive than doing it right the first time.
Stained Concrete in Dallas: A Few Local Considerations
Dallas has a specific climate that affects concrete flooring in ways that matter for your project. The combination of heat, humidity, and occasional cold snaps creates conditions where moisture management is especially important.
Slabs in Dallas can have higher moisture vapor transmission rates, particularly in older homes or in areas with clay-heavy soil beneath the foundation. Clay soil in the Dallas area expands and contracts with moisture, which affects slab movement over time. Your contractor should test for moisture before the staining process begins – this isn’t optional.
If you’re planning a flooring project that includes other areas of the home, it also makes sense to think about how the concrete floors will coordinate with adjacent spaces. A kitchen renovation, for example, might flow naturally into stained concrete in an open-plan dining area.
How to Choose the Right Flooring Contractor for This Job
Not every flooring contractor has experience with decorative concrete. It’s a specialized skill set that combines surface preparation knowledge, chemistry awareness, and artistic judgment. When you’re evaluating contractors, there are a few things worth asking.
Ask to see finished examples of their acid stain and water-based stain work – preferably photos of projects they’ve completed in real homes, not just manufacturer samples. Ask about their prep process specifically: how do they handle old coatings, what moisture testing do they use, how do they approach cracks?
A contractor who glosses over the prep questions is a contractor who may be planning to gloss over the prep work itself. That’s a red flag.
Also ask about the sealer they use and how long the project will take from start to finish, including cure time before the floor can be used. A floor that isn’t allowed to cure fully before furniture is moved back in can be damaged in ways that are hard to repair.
Maintenance After the Stain Is Down
Once your floor is done and properly cured, keeping it in good condition is straightforward. Sweep or vacuum regularly to remove grit that can scratch the sealer. Clean spills promptly – the sealer protects the floor, but it’s not impervious to everything, especially acidic liquids over time.
Depending on the traffic your floor sees, you may need to reapply a topcoat of wax or a fresh sealer layer every few years. This is normal maintenance for sealed concrete and is much less involved than the original installation. A quick buff and recoat keeps the surface looking fresh and provides continued protection.
Avoid harsh chemical cleaners. Ammonia- and bleach-based products can break down the sealer over time. A pH-neutral floor cleaner is all you need for routine maintenance.
Frequently Asked Questions
How long does the entire process take?
A typical residential staining project takes three to five days from start to finish, including prep, staining, sealing, and initial cure time. More complex jobs – larger areas, significant surface issues – can take longer. Plan for the space to be off-limits for at least 24 to 48 hours after the final sealer coat.
Can stained concrete be done over existing tile or hardwood?
Usually, no. The stain needs to penetrate the concrete directly. If tile or hardwood is on top of the slab, it typically needs to be removed first, and then the adhesive residue from the tile or the staples from the hardwood need to be fully removed before staining.
Is stained concrete slippery?
It can be, especially when wet and when a high-gloss sealer is used. Adding a slip-resistant additive to the sealer is the standard solution. This is particularly important in bathrooms, kitchens, and entryways.
Can you stain concrete outdoors?
Yes, exterior concrete – patios, driveways, walkways – can be stained. The process is similar, but the sealer selection matters more for outdoor applications since it needs to handle UV exposure, rain, and temperature changes. A patio deck cover project pairs well with stained concrete since the covering reduces UV exposure and helps the sealer last longer.
What does it cost?
Stained concrete is generally more affordable than hardwood or natural stone, but costs vary significantly based on the condition of the slab, the square footage, and the complexity of the design. Basic single-color staining with standard sealing is less expensive than multi-color designs or heavily damaged slabs that require extensive prep. Get a written estimate that breaks out prep, materials, and labor separately so you understand what you’re paying for.
Can stained concrete be repaired if it gets damaged?
Minor scratches to the sealer can be addressed with a fresh sealer coat. More serious damage that reaches the stained layer is harder to match exactly, because the stain’s color is partly a result of that specific concrete’s mineral content at the time of application. New patches will often look slightly different. This is a known limitation of the material and worth factoring into your decision.
Are Stained Concrete Floors Worth the Prep Work?
Stained concrete floors deliver on the visual promise – but they reward thorough preparation and penalize shortcuts. If your Dallas home is a good candidate for this flooring option, the long-term payoff in durability, appearance, and low maintenance makes it worth serious consideration.
The key is working with a contractor who treats the prep work as seriously as the finish. If you’re ready to explore what this upgrade could look like in your home, learn more about our flooring contractor services or call us at +1-972-802-3107 to talk through your project.